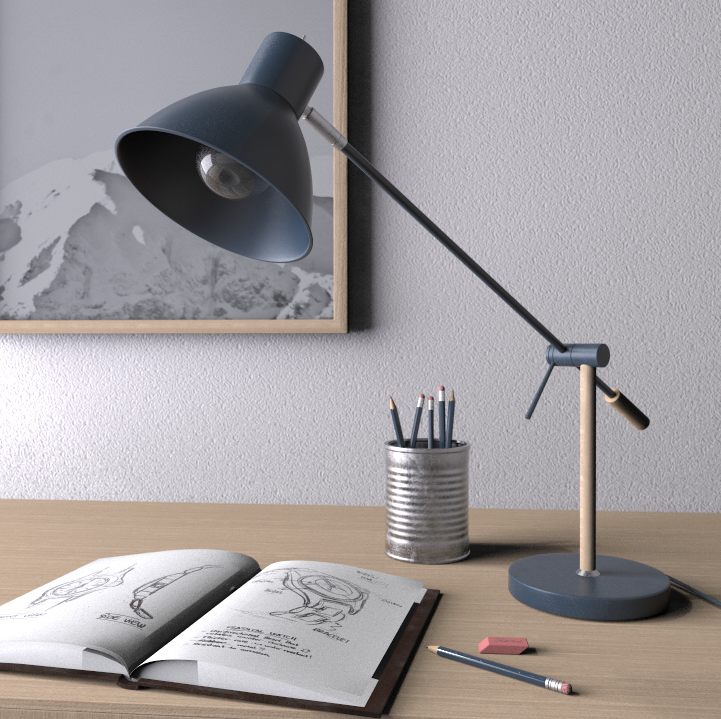
In this tutorial, I will show you step by step how I quickly created the lighting setup that I used for this context render.
Step 1: Prepare the Scene
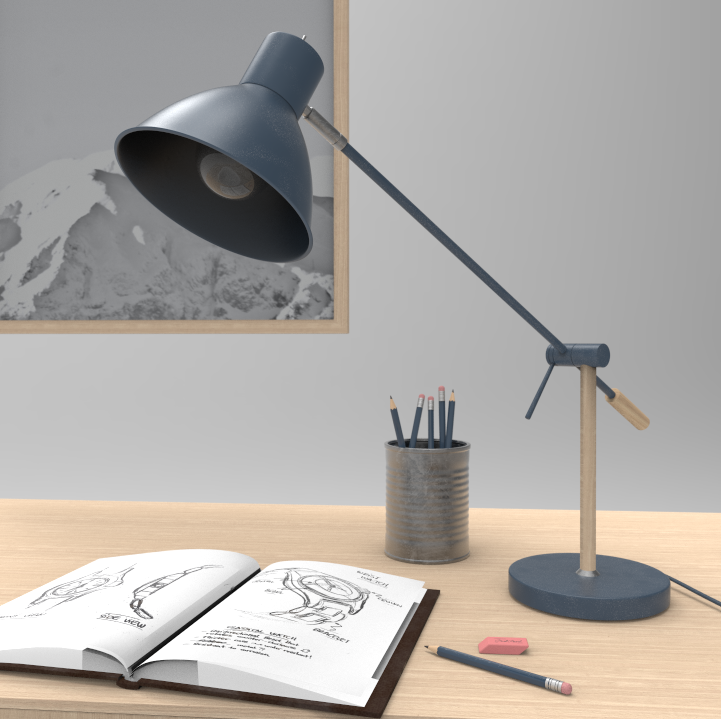
After importing the models and applying the materials, position the camera to an angle that you like and decide on which side you want to place the window. In this case, the window is going to be placed on the left side of the scene.
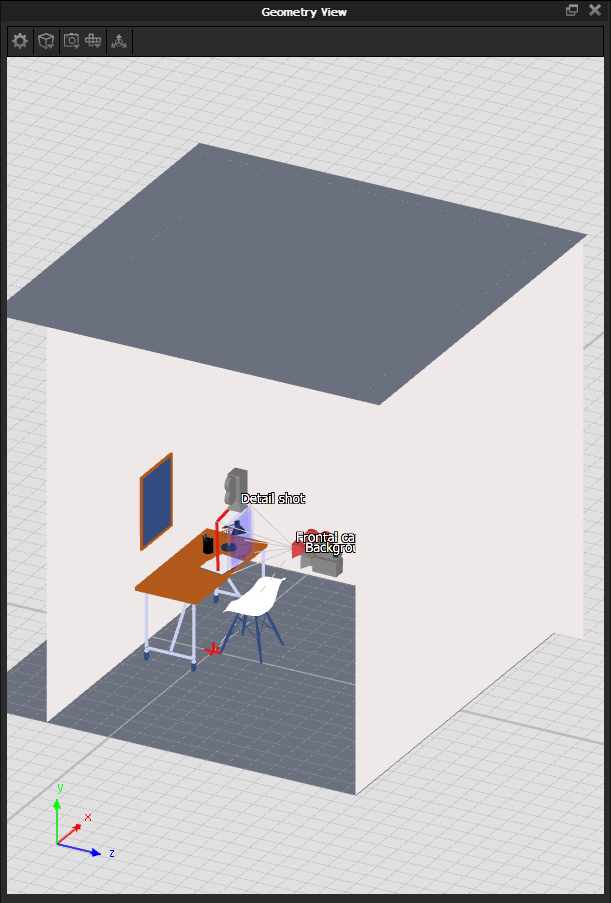
Step 2: Add the Room
Drag and drop planes from the Library to create the room. Scale and position them, leaving an open side where the window will be placed.
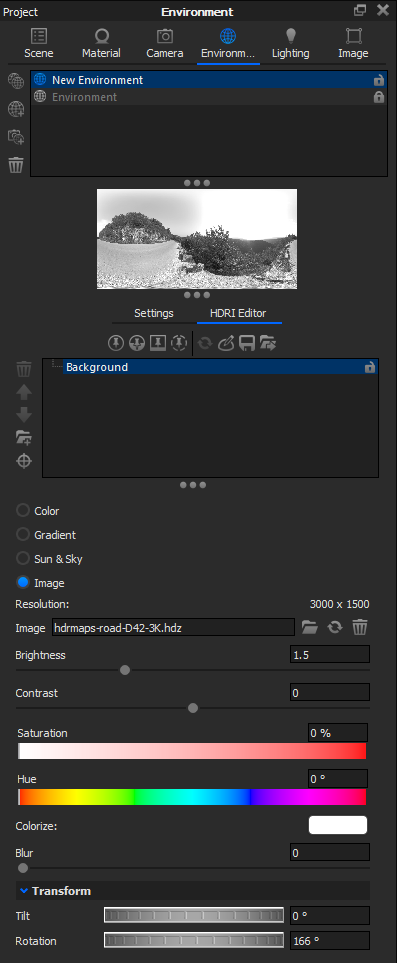
Step 3: Modify the Environment
Go to the Environment tab and click on the Add New Environment icon. Choose an HDRI from the Keyshot library and drag and drop it as background. Then rotate it from the Transform tab until the sun is hitting through the window.
Step 4: Desaturate the Environment
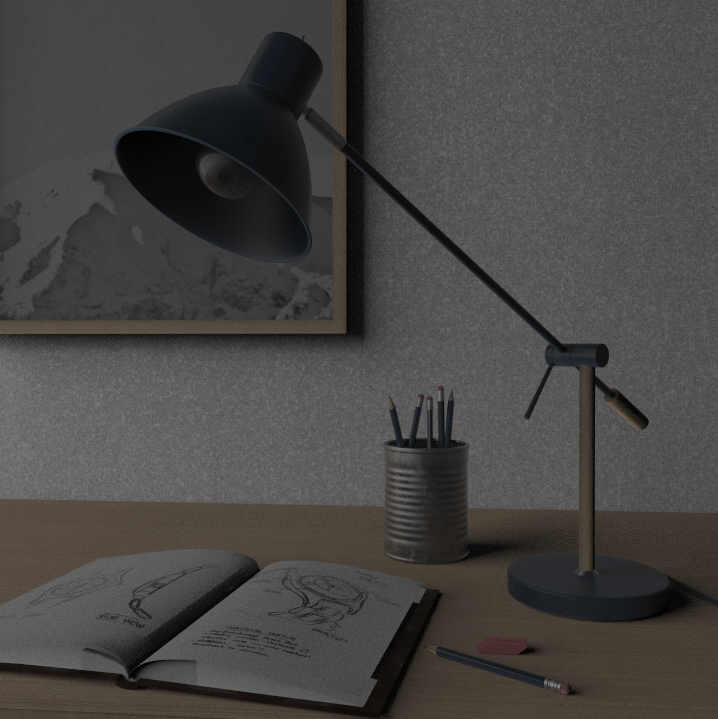
Turn down the saturation of the HDRI until you have a B&W Environment; like this, the colours of the HDRI will not affect the colours of your scene.
Step 5: Add an Area Light
Drag and drop a plane from the Library and scale it until it covers part of the sidewall where the window is placed. Go to the Material properties and change the Type to Area Light.
Step 6: Adjust the Properties of the Area Light
Click on the Color and select Kelvin on the drop-down list, then choose the colour of your light depending on how warm/cold you want your scene to be.
Adjust the Power of your light until you have a nice contrast between light and shadows.
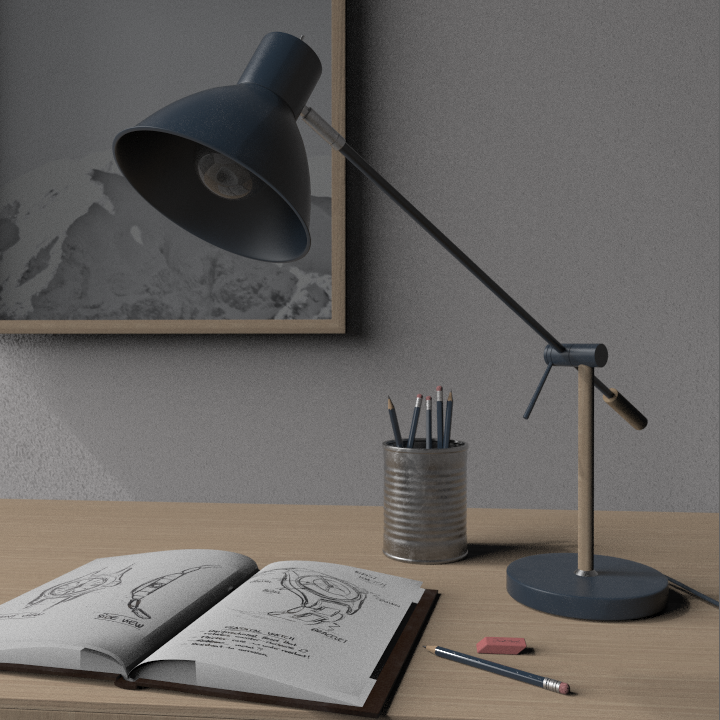
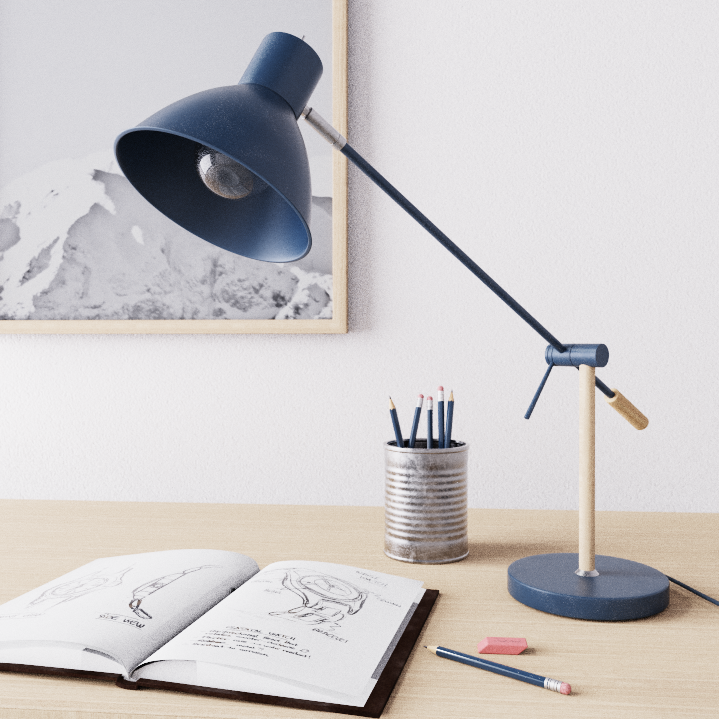
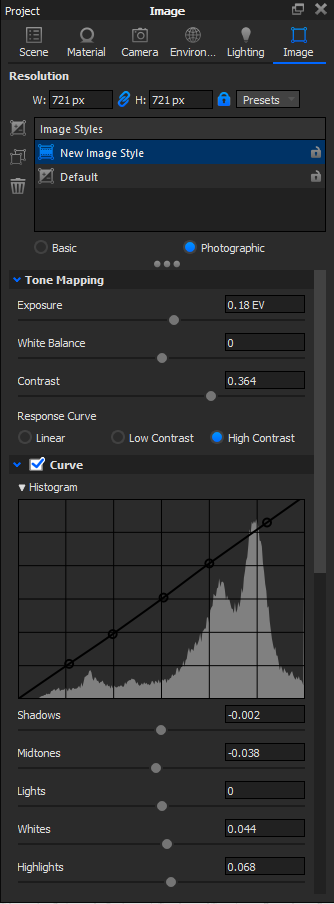
Step 7: Modify the Image Style
Select the Photographic style.
Go to the Image tab and select the Photographic style. Play around with the Tone Mapping and the Curve parameters until you are satisfied with the result.